Having grown up in Peru has left in me many memories about food I grew up with and the people that surrounded me at the time.
Bread is more than staple in Peru, I consider bread part of the food culture; either in the coast, mountains, or jungle, bread is something bought daily in the morning time and some people also gets it fresh in the afternoon time. Bakeries open their door early, before any other place, as it is them! the ones making the bread for the working people.
There is always a link to the main reason of why I love making bread, but bread like the one you are about to make or read about is link to places in time and the people surrounding me at that moment.
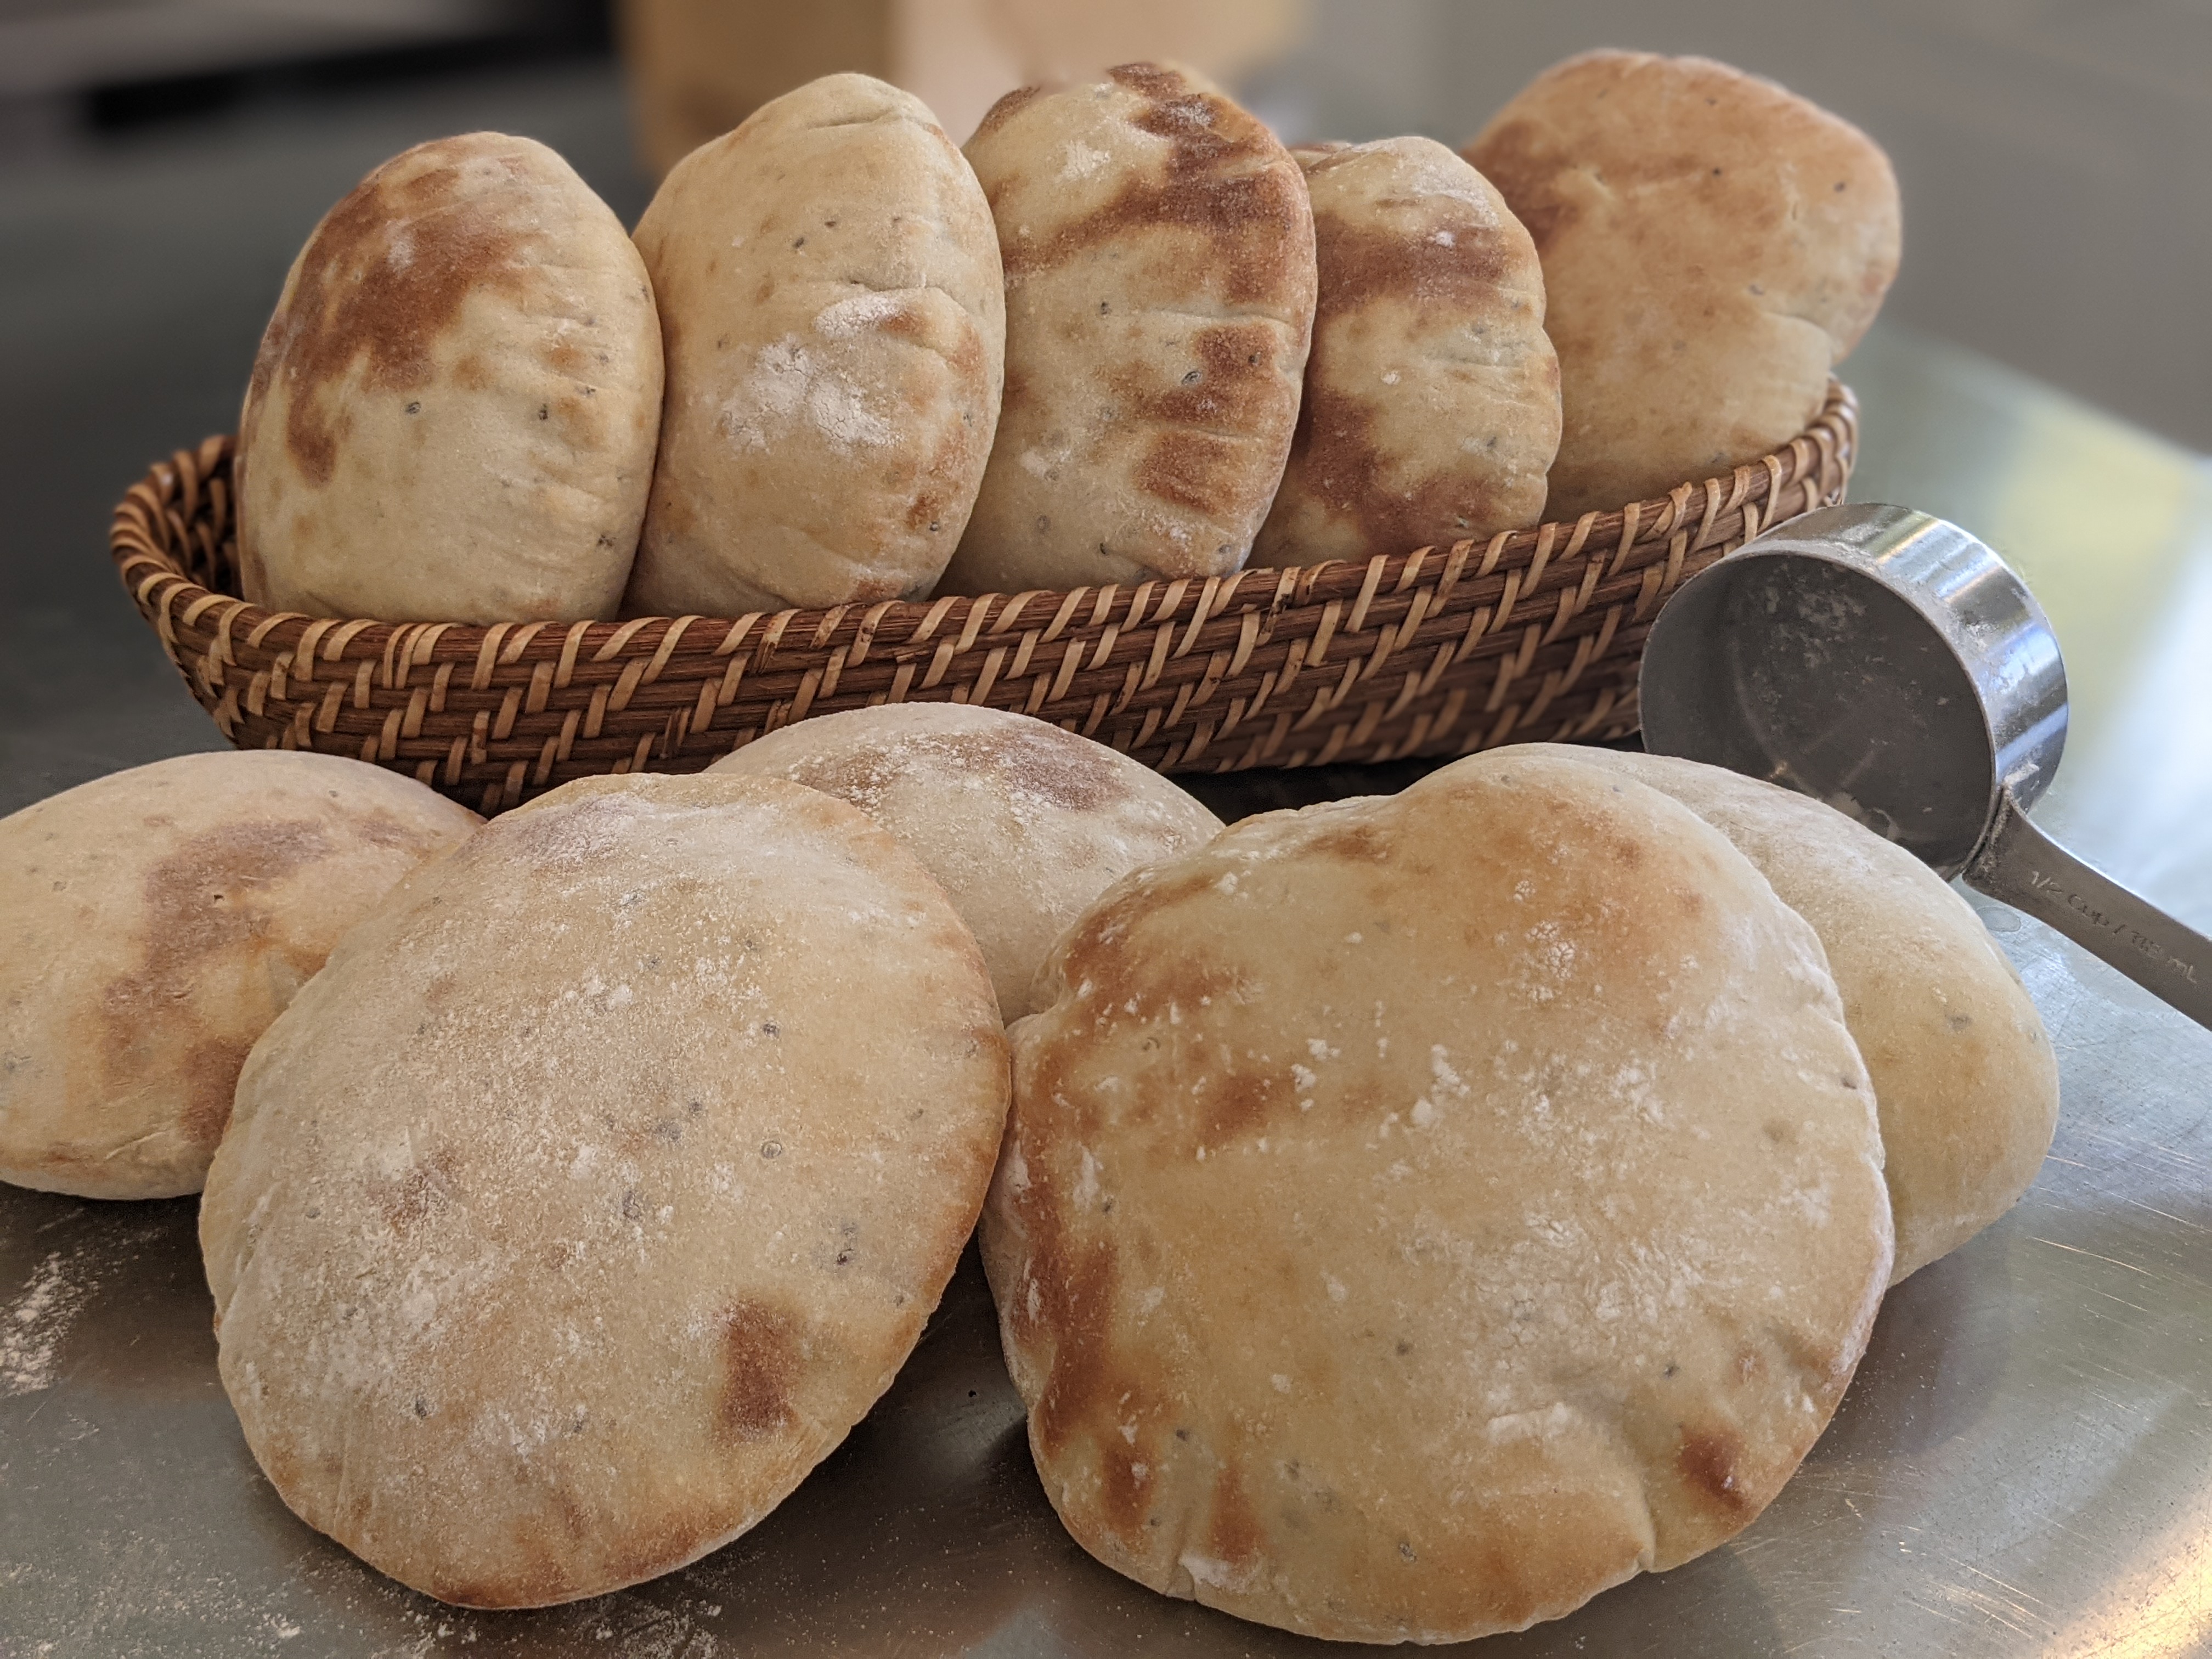
In Lima where I grew, this bread is referred as Pan Serrano, (bread from the sierra). For those who don’t know, the sierra is situated geographically in the center of the country along the line of the Cordillera Andina, or as many call it Los Andes.
I found the recipe for this bread in an old cooking book that I actually found HERE! in DI, a second hand store. I did my usual visit to the book section and when I started going thru the book, I notice that the Autor was from my dad’s hometown (Irma), Cuzco; which is great, but not perfect, as I was looking for my mom’s hometown, Tarma. At the end I settled to combine my knowledge of Pita bread with some great directions, and I end up making this bread from Ayacucho, another area of the Peruvian Sierra, this is closer to my mom’s town bread.
Ingredients:
- 500 gr. Organic all-purpose, unbleached flour
- 2 tsp. Salt
- 227 gr. water, boiling (for steeping the anise seeds)
- 1 tbsp. Anise seeds
- 114 gr. water chill
- 1+1/2 tbsp. instant dry yeast
- 2 tbsp. Sugar
- 3 tbsp. Canola oil, divided
directions:
- In a small bowl weigh the flour. Add the salt over the flour and set aside.
- Bring water to boil in a kettle or saucepan, when water is boiling measure out 8-oz into the mixing bowl of a stand mixer. Add the anise seeds, cover, and set aside for 5-minutes. Incorporate the 4-oz chill water and check the temperature, liquid should be around 110*F. if more, allow the liquid to set aside until it reaches the desired temperature.
- Add yeast and sugar over the liquid, mix, and set aside for 15-minutes.
- Place the hook attachment to your mixer and all at once add the flour /salt.
- Short mix until all flour is absorbed into the dough, at this point add 2-tbsp. oil, then increase the speed to improve the gluten development. It should take 5-7 minutes total mixing time. (4-5 minutes in short and 2-3 minutes for improvement)
- As always, sprinkling a little flour during mixing time might be needed; also, check gluten development and observe if the dough forms a window when stretching.
- Bring dough to a lightly floured surface and form the dough into a smooth ball, any seems should be on the bottom of the ball.
- Place on a greased bowl (use the other 1-tbsp. oil to grease bowl) and cover with plastic wrap and linen. Place bowl in a warm area and ferment/proof for about 45-minutes to 1-hour. Check to make sure dough has proof correctly by pressing soft into the dough with to fingers. The dough should slightly bounce but it should also leave a mark.
- Preheat oven to 500*F. with a stone or sheet pan upside down inside.
- When the dough is ready, sprinkle/dust the working surface and the top of the bread with flour; turn the bowl over the floured surface. Quickly sprinkle/dust the dough lightly with flour, extend to form into a more square piece, and portion dough into 12-portions of approximately 80-gr.
- Round each portion piece, making sure the seems to stay on the bottom of the rounded ball. Cover with plastic wrap and bench for approximately 10-15 minutes.
- Stretch bread into a circular disc of approximate 6-inches (do not thin it down too much).
- Bake as soon as you stretch them, but dust them with flour right before they go into the oven, (flour on top).
- Be quick, open the oven and quickly position the bread (you have only one go) Place bread on your hand or on a transferring wood-peel. Close the oven door and bring the heat down to 480*F.
- Bake bread for 5-minutes.
- Bread should puff, it will look as if the bread has taken a big gulp of air and they will look nice and golden in color.
- Remove from oven with the help of a towel and set aside to cool for at least 5-minutes.

I make this bread all the time, as my last visit to Asia I had this bread for the first time and loved it. My only issues is I can never get the bread to fully puff out. What am I doing wrong?
LikeLike
Oven temperature must be high and make sure you are putting it on a hot surface also. Your stone or sheet pan should also be at high temp
LikeLike
Hi, to help your bread puff, make sure the stretching is even, sometimes i flour the bread and pass my hand over to feel if it is even in thickness.
LikeLike